Pages

12.01.2010

Pink Polka Dot Ruffle Butt Pants!!!

I have been working on Christmas/Birthday presents, so there hasn't been too much that I can blog about.  But I did make myself a new purse that I need to share with all of you but today I am sharing with you more baby sewing!  I used Made By Rae's Big Butt Baby Pants pattern again to make these adorable pink polka dot pants:

Now these aren't just any ordinary pink polka dot pants, no sir!  These are pink polka dot ruffle butt pants!!

Rae has on option on her pattern to add knit ruffles, but I wanted to use the same material that I used for the pants to make the ruffles.  And I decided to stop after 3 ruffles.  I love the results!  I think every little girl needs a pair of ruffle butt pants, don't you?


Basically what I did was made a tube out of the fabric and pressed it flat.  I gathered the top edge of it using  the longest stitch length I had on my machine (4) and set the thread tension to the highest number (9).  This created an instant ruffle.  I pinned it to the rear panel and stitched it along the gathered stitches.  I used Rae's suggested placement for the ruffles.  Then I continued to follow the pattern as normal.  Check out these cute ruffles!
  I can't get enough of them!  I will be making more of these!  I figure these pants will go great with a cute onsie.
Thanks for looking!
~Christina

11.08.2010

3 Baby Bibs

I decided that I wanted a simple project to make, so I decided to make so baby bibs. Rae of, quite possible my favorite blog, Made by Rae, shared this tutorial over at Sew, Mama, Sew. I decided that these would be the bibs I would make. They were super easy to make.  Rae shows you how to make your own pattern using found objects. I did get lazy while I was hand sewing the snaps onto the second one and bought myself a little snap fastener.  It was cheaper than snap pliers and I get to use a hammer. Double bonus! 


I used some pink and brown fat quarters for the tops and pink terry cloth for the bottoms.  All fabric came from Jo-Anns.  I think my daughter will be stylin' at lunchtime while wearing these!


Now I may have to take a break from baby things and get started on Christmas presents.  I have been going back and forth as to whether or not I was making them this year.  Right now I'm feeling ambitious and think I can do it.  We'll see how that goes.  Third trimester is approaching...
Thanks for looking!
~Christina

10.27.2010

Lady Bug Jammies

I have definitely caught the sewing baby clothes bug!  They are so cute and don't take much time and I get excited with the completion of project thinking about how cute it will look on my daughter in a few months!  Last night  I finished up a cute set of baby jammies.  You might recognize the material from the PAJAMA PANTS I made for myself earlier this year when I taught Rick how to sew.   I made these tiny jammies from material I had left over.  The material is a cozy soft flannel that I purchased at Hobby Lobby.

Tiny Jammies!

I used the pattern called  Lucy's Kimono from HEATHER ROSS'S WEEKEND SEWING.  It was so easy to make.  I think I will have to make more!  When I showed it to my mom, she said this style of top was her favorite for a little baby because you don't have to pull it over their head.  In fact, she made some for us girls when we were little babies.  If I can find a picture, I may share.

Here it is with the top flap open.  I may use Velcro for the inside flap instead of a bow so that there is less bulk and I can be extra lazy :-) 

All bundled up!  All that is missing is a cute baby!

The pants were made using the BIG BUTT BABY PANTS from MADE BY RAE again.  This time I added the optional fold-up cuffs.  I used the 0-3 month size to go with the sizing of the kimono.  I love the little lady bugs!

Big Butt Baby Pants!  One cuff is folded up and the other down so you can see the options available:

And here's the back view:


I can't wait to try these on my daughter in February.  Ooh!  she just kicked me in excitement!  Now I have to decide what to sew next.  There are so many great patterns and tutorials out there.  What shall I make next?

As always, thanks for looking!!
~Christina


10.23.2010

Big Butt Baby Pants

I went to Wal-Mart and, of course, I was drawn to the corner of the store that has cute little socks and onesies and dresses.  And on this day there was a cute little sweater that called my name.  I had to buy it.  My daughter will be born in February and she is going to need things that will keep her warm.  So, I bought it!


Isn't it cute?  I was looking at it and thinking that baby girl is going to need some pants to go with her new sweater.  Rae of MADE BY RAE had finished up a great pattern for her BIG BUTT BABY PANTS not too long ago.  So I went over to her awesome blog and purchased it  and was oh so excited to download it and get started!

The sweater is a 3-6 month size, so I went with the 3-6 month size for the pants.  I didn't want to go out and but more fabric, so I checked out my stash.  I found some purple material that matched the purple on the sweater.  If you have been following my blog, you might recognize it from a previous project for another cute girl.  Remember THIS?  That's the fabric I used!  And I have to say that my niece approves of the fabric choice!

The pattern was easy to follow and was very quick to put together.  I can't wait to put them on my little girl.  Are you ready to see them?  Here they are!
Front View:

and Back View:
Aren't they cute!  I love the back panel because I'm sure that will make them fit so much better over a diaper.  Comfy and cozy for a little baby.  I think I need to make a ruffled butt pair.  Ever little girl needs a pair of ruffle butt pants.  Oh,I have one more picture for you.  Here is the complete outfit:
Now that I have started sewing for baby girl, I'm not sure I'll be able to stop.  I have been checking out all kinds of great blogs for patterns and tutorials and I just need to pick something to make next!
Thanks for looking!!
~Christina

10.14.2010

New Fall Purse

Happy Fall!  I made myself a new purse to celebrate the changing leaves and cooler weather.  Rae of Made by Rae posted a really cute owl bag that she made using her Lickety Split pattern with some modifications.  I loved what she came up with and had to make one of my very own.  I started this last week and officially finished it today.  (I should add that the pattern is simple; the only reason it took me so long is that I couldn't decide on what to use for the closure and I was being lazy about finishing the top-stitching.)  I love all the pockets!  It has 4!

  Here's my Happy New Fall Purse!
Instead of a button and loop for the closure, I used a fabric flower and loop!  I used the Rolled Rose tutorial over at Portabellopixie to make the fabric flower.


I love my new purse!  I  love this time of year.  :-)
Thanks for looking!
~Christina

9.15.2010

Fall excitment!

 Good afternoon blog readers (if I have any left).  I'm embarrassed that I have posted anything in about 3 months.  I've been so tired lately...... because I'm pregnant!!  I have finally got some energy back and hopefully that means more craftiness!  :-)  We are also in the middle of doing some remodeling/rearranging to make room for the baby, so  I still may not post all that often.  But it will be easier to because our internet connection is faster (YAY!)  I do have several projects that I haven't posted that I can share with you while I am creating new things to blog about.  

I am very excited about fall.  So excited that I bought some cheap fall fabric at Wal-Mart to play with!
 
I have to say that these fabrics sure do make me feel crafty!  What should I make?  Well, I have some ideas...but I'm not going to tell you!  What do you think I should make?   

I promise not to go 3 months without a post without giving some kind of warning first.  Thanks for reading (if there's anyone out there)  :-)
~Christina

6.11.2010

Pink and Brown Buttercup Bag

Hi everyone!  Here's a Buttercup Bag that I made last month for my sister Rebecca's friend Rachel.  This was my 2nd custom order (my first being this bag Rebecca ordered for another friend's birthday). 
 
 Rachel like big purses, so this is the larger version plus 3 inches added to the length.  It makes for a very roomy purse! 

Rachel picked out the fabric.  I like pink and brown together.


Thanks for looking!
~Christina

6.02.2010

Cute blue skirt

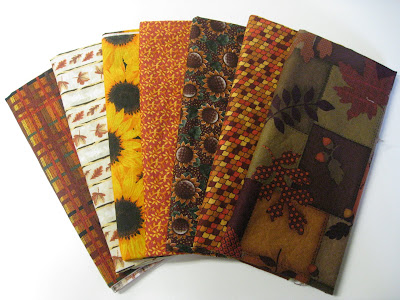
I found this awesome fabric at Wal-Mart for $2 a yard and knew that I needed to make a skirt with it.  I didn't use a pattern, I just kind made it up as I went.  Real quick, here's what I did (if I make another, I write down what I did and maybe take process pictures, like a tutorial!): I cut 3 layers of fabric and serged the bottom edge of each layer to make my hemline.  I just kinda guessed on the width the skirt because I decided I was going to shir the waistband.  I attached all layers at the top edge, folding the back layer to the front to create a clean edge.  The I stitched the sides of the layers.  Then I shirred the waistband.  I had to wash it a few times to shrink it down because it was a bit big initially.  It helped that I didn't pre-wash the fabric (even though I usually do).  I got it done in time to wear to my cousin's graduation.  Enough talk, on to the pictures!!

 *****EDIT*****
 Ok, This morning I drew up some quick sketches of my process...or what it will be next time to make it easier.  I think it will work better this way than they way I did it.  Basically, I switched the order of 2 of the steps, this way will create nicer seams I think.  This will me a lite tutorial, meaning I didn't include any measurements as I didn't really measure much of anything.  It was more of an eh, that looks good process for me.  Ready?  Here we go! (please don't laugh at my sad little sketches...)


 I hope those made sense.  You can find many great tutorials for shirring.  I love Dana's over at Made.  Her tutorials and patterns are so professional looking and full of pictures and suggestions.  Someday maybe mine will look like that awesome.  Ok, now on to the pictures!!

As you can see, I made the layers different lengths to make it more interesting:

Here's a side by side of me wearing the skirt, both tucked and untucked.  I am more of an untucked kind of girl.  I just think it's more comfortable.

And of course, here's a pic of me wearing my new skirt:
Posted by Picasa

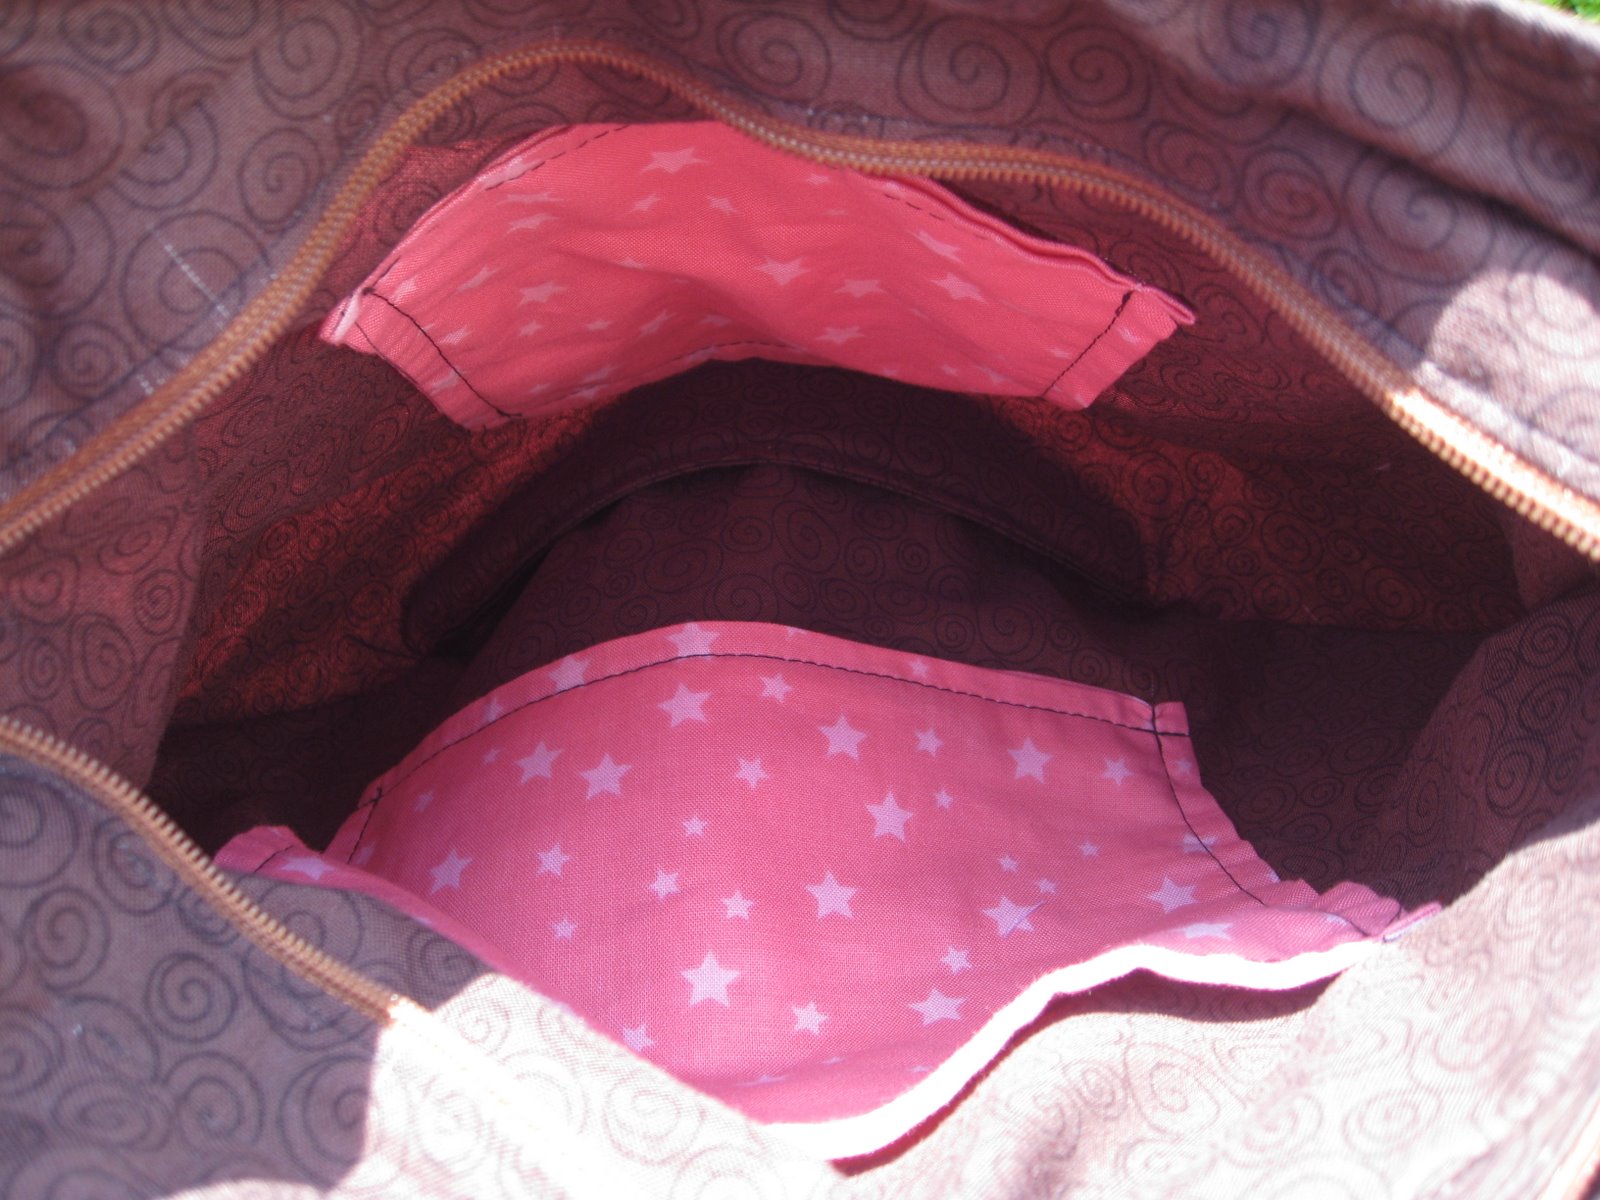
I mentioned something about a possible tutorial for this skirt, which may happen in the future.  Right now I am working on a different tutorial.  I am working on a fun summer top that I am making up as I go.  Don't worry, I am taking plenty of pictures and writing down little notes and measurements as I go.  Hopefully I'll finish it some time soon!  I'm excited about possibly posting my first tutorial!!  Ok, I have 2 more purses to blog about, I need to take pictures of 1 of them so I can share them with you.  I'll hopefully get those up soon.

Thanks for looking!  Become a follower if you aren't already!  Leave a comment if you like something!  I love reading your comments!! 

~Christina

5.20.2010

Fancy Skirt with POCKETS!!!

I can't believe I haven't posted this one yet!  I made a skirt for me!!  I used some of the Tutti Frutti fabric from Jo-Anne's that I had been saving.  I used a New Look pattern for this skirt.  I love that Wal-Mart sells cheap patterns! 

New Look 6899, View F.
I mostly used view F.  I made it without the sash and I added the pockets from view A/C.  I am so happy that I added pockets!  That means that I might actually wear this skirt.  I'm a girl that requires pockets!

Here's my new skirt!
Here is is again blowing in the breeze!  I posted this so you can see the fullness of it.

Did I mention this skirt has pockets?  It does!!  And an invisible zipper!!

  Here I am wearing my new skirt!!  I like the second pic, it's all like yep, I got pockets!

And here I am running like a crazy person!!  We have too much fun in the woods!!

Thanks for looking!!
~Christina


Posted by Picasa

5.10.2010

Happy Mother's Day!!

I hope everyone had a Happy Mother's Day yesterday!!  I made my mom a little quilted zippered pouch and we also got her some flower pots.  This pouch was my first quilted project and I am quit pleased with it. I used the lining fabric on the bottom edge.  My sister thinks it looks like grass.  I quilted the batting to the outside fabric then added the ric-rac to the seam.  then I added the zipper and sewed it all together. 

Here's the pouch:

Here's the inside:


For my mother-in-law, Joy, I made some Picnic-tastic Place Mats.  Well, technically this is also her birthday present.  For her birthday I told her I would let her pick out some material and I would make her some.  Well I ended up making 8 of them and finished them in time for Mother's Day.  Rick also picked out some flowers for her and I found a tiny "Joy" book for her at work. 

Here they are all rolled up:


Here's the 2 different styles of these place mats.  I made 4 of each:
Posted by Picasa

In other news, I didn't make it into the Top 60 for Spring Top Week.  There were so many great tops entered this year.  I'll have to try harder next year!  I'm just pleased that I'm learning how to sew clothing and I completed and entered 5 different tops this year.

Thanks for looking!!
~Christina


5.02.2010

Sunday Sewing

I had a pretty good sewing day.  I made Rick another pair of PJ shorts.  I realized I never posted the first pair I made so I'll show both of them to you now.  The grey pair was made on my sewing machine and the green pair was made on my serger.  They are both made using a jersey knit from Joann's.  I used stretch stitches on my sewing machine on the grey pair.  On the green pair I used a three thread over-lock stitch on the seams and a flat-lock on the waistband and hem.  
OK, enough about the stitches, here's a picture!!

I also finally made my sister's shirt that I promised her.  She loves this pink tank top so much that she wanted another one.  Her only request was for it to have wider straps.  I found the fabric at Wal-Mart and it screamed Rebbie!!  It's a thin knit with stripes of red, grey and yellow dots.  I made the pattern using her shirt and I got to used my serger on it (did I mention that I love my new serger!?!?)

Here's my usual side by side of the before and after:

Here's a close-up so you can see the awesome fabric:
Posted by Picasa


I'll update later with some pictures of the shirt on my sister.  I think she likes it.  :-)

Spring Top Week officially starts tomorrow over at Made By Rae.  New tops will be posted each day (Mon-Fri) so be sure to check so you can vote for for your favorite!  I hope you pick mine if I'm am lucky enough to be in the top 50!!  There were so many great entries this year.  I'm just happy that I completed my 5 tops.

Here's my five tops again.  I like seeing them all lined up!

All in all, today was a pretty good day.  Thanks for looking!!
~Christina